
TL;DR:
- A professional home studio requires a computer, DAW, audio interface, a room-matched microphone, and closed-back headphones. Acoustic treatment and monitoring significantly improve sound quality, often more than upgrading gear. Building gradually with proper sequence and learning your tools ensures the best results at any budget level.
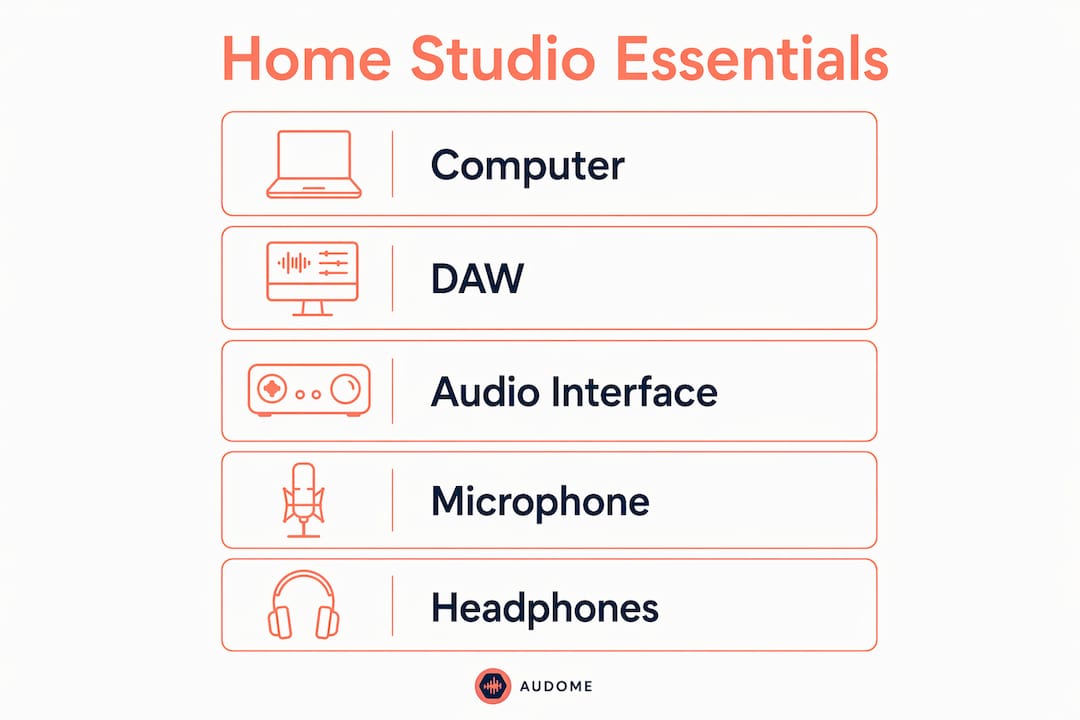
A professional home studio is defined by five core components: a capable computer, a digital audio workstation (DAW), an audio interface, a microphone matched to your room, and quality headphones. These are the tools every home studio needs to seem professional, and they form the foundation that separates bedroom recordings from release-ready tracks. The good news is that a starter setup costs $300–$500, which puts professional-quality audio production within reach for most producers. Acoustic treatment and accurate monitoring sit just above that foundation. Get those right, and your recordings will outperform studios spending three times as much on gear.
What are the core hardware and software components every home studio must have?
Every professional home studio setup checklist starts with the same five items. Each one plays a specific role, and skipping or skimping on any of them creates a bottleneck that no amount of expensive plugins can fix.
-
Computer. Any modern computer made within the last 5–6 years with at least 8GB of RAM handles professional music production without issue. You do not need a specialized audio workstation. A mid-range laptop or desktop running macOS or Windows works fine for most DAWs and session sizes.
-
DAW (Digital Audio Workstation). Your DAW is your studio. Logic Pro, Reaper, and GarageBand each offer full production environments at different price points. GarageBand is free and ships on every Mac. Reaper costs $60 for a personal license. Logic Pro runs $199.99 as a one-time purchase. Pick one and learn it deeply before switching.
-
Audio interface. The interface is the heart of the setup, providing preamp gain, phantom power for condenser microphones, and analog-to-digital conversion. The quality of your converters directly affects your noise floor and recording latency. Entry-level interfaces from reputable brands start around $100 and deliver clean, low-noise recordings.
-
Microphone. Microphone choice depends on your room, not your budget. Dynamic microphones outperform condensers in untreated rooms because they reject ambient noise and room reflections far better. A condenser mic in an untreated bedroom picks up every flutter echo and HVAC hum. Match the mic to your acoustic conditions first.
-
Closed-back headphones. Closed-back headphones are non-negotiable for tracking because they prevent bleed into the microphone during recording. They also serve as your primary monitoring tool until your room is treated. Studio monitors come later.
-
Accessories. XLR cables, a mic stand, and a pop filter are not optional extras. A pop filter alone eliminates plosive distortion that no plugin can fully repair after the fact. Budget $50–$80 for these items and treat them as part of your core setup.
Pro Tip: If you use a condenser microphone, phantom power must be enabled on your audio interface before the mic will function. This is one of the most common setup errors beginners make, and it looks like a broken mic when the fix takes two seconds.
How does acoustic treatment and monitoring improve the professional sound of a home studio?
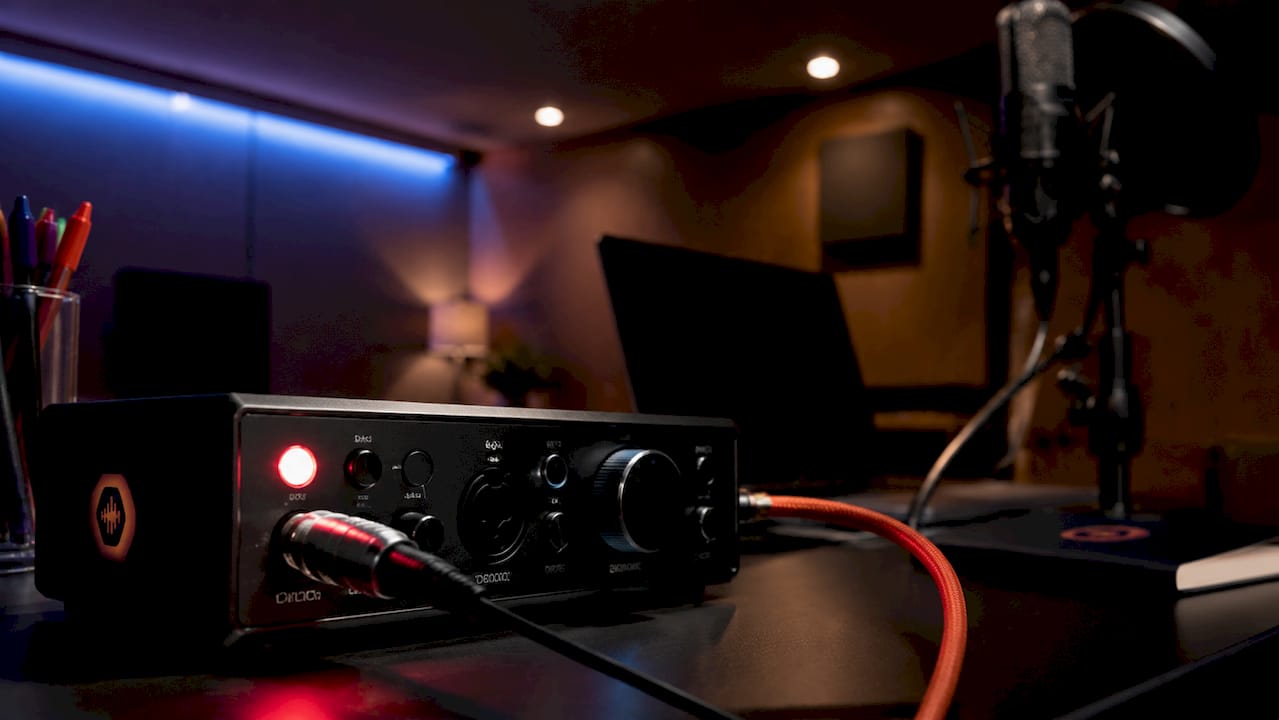
Room treatment delivers more improvement per dollar than almost any gear upgrade. Acoustic treatment and proper monitor placement yield larger improvements in audio quality than upgrading from a $99 microphone to a $500 one. That is not a minor point. It means your room is more important than your gear.
An untreated room creates three problems: flutter echoes between parallel walls, bass buildup in corners, and early reflections that color the sound reaching your ears. All three cause you to make wrong mixing decisions. You boost frequencies that are already loud in the room, and the mix sounds thin everywhere else.
The priority order for treatment is:
- Bass traps in corners. Low frequencies build up in corners and make bass sound louder than it is. Thick broadband absorbers or purpose-built bass traps placed floor-to-ceiling in corners fix this first.
- Absorption at first reflection points. The first reflection points are the spots on your side walls, ceiling, and floor where sound bounces directly from your speakers to your ears. A panel of 2-inch acoustic foam or rigid fiberglass at each point cleans up the stereo image significantly.
- Diffusion at the rear wall. Diffusers scatter sound rather than absorb it, which keeps the room from feeling dead while reducing problematic reflections.
Studio monitors require a treated space to give you accurate information. A well-positioned pair of $299 monitors beats a poorly placed pair of $1,000 monitors every time. Placement matters more than price. Position monitors at ear height, angled inward to form an equilateral triangle with your head, and keep them away from walls to reduce bass buildup.
Pro Tip: Download Room EQ Wizard (REW), a free room calibration program, and use a measurement microphone to see exactly where your room’s problem frequencies are. This turns guesswork into a targeted treatment plan and saves you from buying panels you do not need.
What common mistakes should home studio owners avoid when assembling their toolkit?
Most home studio mistakes follow a predictable pattern: producers spend money in the wrong order, then wonder why their recordings still sound amateur. The most common errors include buying expensive microphones before owning a quality interface, skipping cables and stands, and purchasing hardware mixers they do not need.
-
Buying an expensive mic before a good interface. A $500 condenser microphone running through a cheap interface with noisy preamps sounds worse than a $100 dynamic mic through a clean interface. The interface sets the ceiling for everything recorded through it.
-
Skipping accessories. Cables, mic stands, and pop filters are unglamorous but critical. A loose XLR cable introduces noise. A shaky mic stand causes vibration artifacts. A missing pop filter turns every “p” and “b” into a distorted thump.
-
Buying a hardware mixer too early. Most home studio producers do not need a hardware mixer. Your DAW handles routing, mixing, and effects internally. A mixer adds complexity and cost without adding capability at the beginner level.
-
Chasing gear instead of fixing the room. Spending time on room setup and DIY acoustic treatment eclipses gains from upgrading MIDI controllers or secondary hardware early in the process. The room is the most neglected tool in most home studios.
-
Buying third-party plugins before mastering stock tools. Stock DAW plugins are capable of professional results. The EQ, compressor, and reverb that ship with Logic Pro or Reaper are not placeholders. They are professional tools. Learn them fully before spending money on third-party alternatives.
-
Overbuying inputs or multiple monitors without treatment. A four-input interface is useless if you only record one source at a time. Two sets of monitors are useless if your room cannot give you accurate information from either of them.
Pro Tip: Before buying anything new, spend one week working only with what you already own. You will quickly identify the actual bottleneck in your workflow rather than the one you assumed was the problem.
How can you gradually scale your home studio for professional results?
Building a professional home studio is a progression, not a single purchase. Producers who try to buy everything at once usually end up with an unbalanced setup that underperforms a simpler, well-chosen rig. The must-have studio accessories and gear you need shift as your skills and client work grow.
| Budget tier | Approximate cost | What to prioritize |
|---|---|---|
| Starter | $300–$500 | Computer, DAW, entry-level interface, dynamic mic, closed-back headphones, cables |
| Intermediate | $700–$1,500 | Upgraded interface, condenser mic, studio monitors, basic acoustic treatment, MIDI controller |
| Professional | $2,000+ | Full room treatment, calibrated monitors, high-end interface, multiple mics, advanced plugins |
The starter tier gets you recording and producing at a level that can compete commercially. The intermediate tier, which typically costs $700–$1,500, adds the tools needed for client work: better conversion, more accurate monitoring, and real acoustic treatment. The professional tier is where you invest in the room itself as a primary tool.
Skills development must keep pace with equipment upgrades. A producer who spends $2,000 on gear but has not learned gain staging, compression, or EQ will produce worse results than someone with a $500 setup and two years of focused practice. Upgrade your ears before you upgrade your gear. Refining your session templates, file naming conventions, and recording studio workflow also compounds over time in ways that no single gear purchase can replicate.
When you do add a MIDI controller, choose one that matches your actual workflow. If you produce primarily with samples and loops, a pad-based controller makes sense. If you play melodic parts, a keyboard controller with weighted keys serves you better. Buy for your process, not for the gear photo.
Key Takeaways
A professional home studio is built in a specific order: core hardware first, room treatment second, and gear upgrades third. Skipping that sequence wastes money and limits results regardless of budget.
| Point | Details |
|---|---|
| Start with five core tools | Computer, DAW, audio interface, microphone, and headphones form the non-negotiable foundation. |
| Match mic to your room | Dynamic mics outperform condensers in untreated spaces and deliver cleaner recordings. |
| Treat the room before upgrading gear | Acoustic treatment improves mix accuracy more than swapping microphones or monitors. |
| Learn stock plugins first | DAW-included EQ and compression deliver professional results before third-party tools are needed. |
| Scale in budget tiers | Progress from a $300–$500 starter rig to intermediate and professional setups as skills grow. |
The order of operations most producers get wrong
Producers who sound professional are not necessarily the ones with the most expensive gear. They are the ones who built their studio in the right order. I have watched producers drop $800 on a large-diaphragm condenser microphone before they owned a decent interface, then spend months frustrated that their recordings sounded harsh and noisy. The mic was not the problem. The preamp was.
The single most underrated investment in any home studio is time spent learning to listen. Accurate monitoring, whether through well-placed studio monitors or quality closed-back headphones, only helps you if you know what you are listening for. I spent a full year mixing only on headphones before I added monitors, and that constraint forced me to develop a reference ear that has served me in every room since.
Matching your microphone to your room’s acoustic conditions is the insight that most gear guides skip entirely. A $150 dynamic mic in a treated room with a clean interface will beat a $600 condenser in a live, reflective bedroom every single time. The physics are not negotiable. Beginners who understand this early save hundreds of dollars and get better recordings faster. For producers who also play acoustic instruments, understanding acoustic optimization for recording is another layer worth studying.
My honest advice: build the foundation, treat the room, and then spend six months making music before buying anything else. The gear you actually need becomes obvious once you are working regularly.
— Kreg
Audome makes professional audio collaboration possible
Once your studio produces professional-quality audio, the next challenge is managing client projects without losing files, feedback, or your mind. That is exactly what Audome is built for.
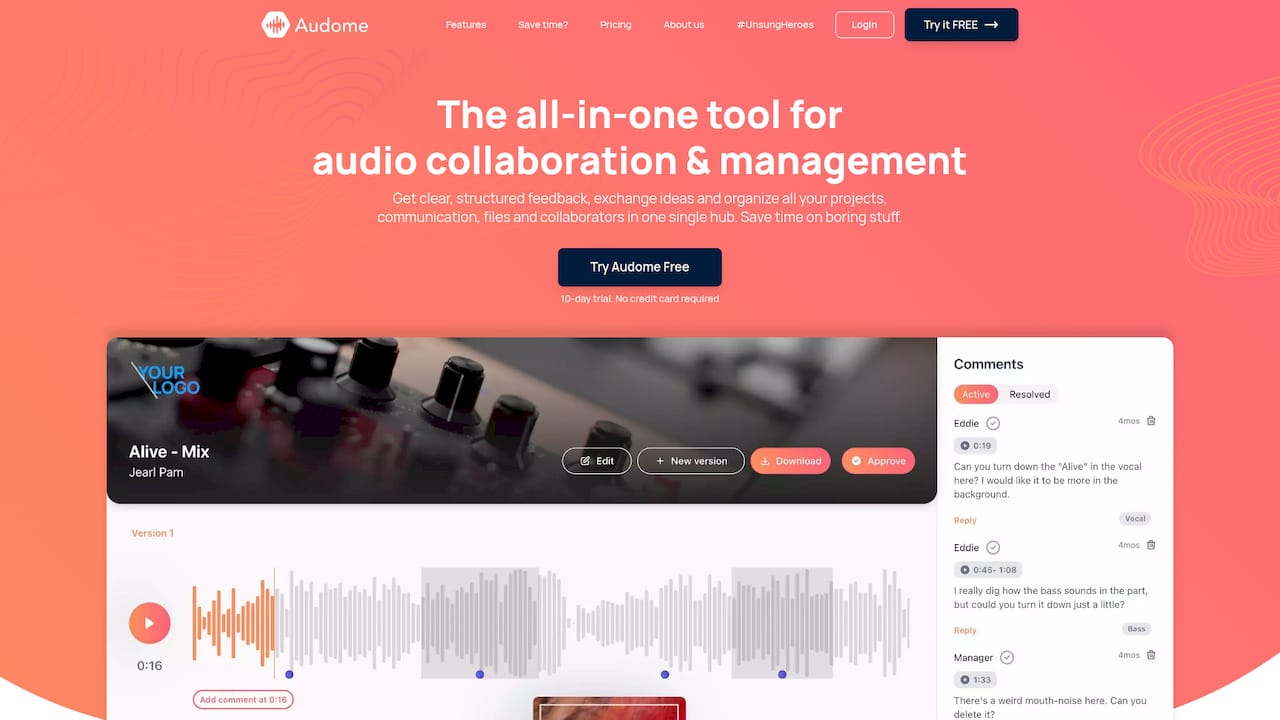
Audome is an all-in-one platform for audio collaboration and project management, designed specifically for producers, mix engineers, and recording studios. Clients can leave timestamped feedback directly on the waveform, revisions are tracked automatically, and payment is collected through integrated Stripe Connect before final files are released. There is no more chasing feedback across email threads, text messages, and Discord channels. Your producer workflow automation runs from one place, and clients never need to create an account to participate.
FAQ
What are the five must-have tools for a home studio?
The five core tools are a computer with at least 8GB of RAM, a DAW, an audio interface, a microphone suited to your room, and closed-back headphones. A starter setup covering all five costs approximately $300–$500.
Should I buy a condenser or dynamic microphone for my home studio?
Buy a dynamic microphone if your room is untreated. Dynamic mics reject ambient noise far better than condensers, which pick up every room reflection and background sound in an untreated space.
Do I need studio monitors to mix professionally at home?
Not immediately. Closed-back headphones work well for mixing until your room is acoustically treated. Studio monitors require a treated space to give you accurate information; without treatment, they can mislead your mixing decisions.
Are stock DAW plugins good enough for professional work?
Yes. Stock plugins included with Logic Pro, Reaper, and similar DAWs deliver professional results. Third-party plugin investment should wait until you fully understand your specific production needs and have exhausted what your DAW already provides.
How much does a professional home studio cost to build?
A functional starter studio costs $300–$500. An intermediate setup with better gear and real acoustic treatment runs $700–$1,500. A fully professional home studio with comprehensive room treatment and high-end equipment typically starts at $2,000 and scales from there.