
Use 44.1 kHz for most podcasts, and switch to 48 kHz only if your show is edited with video or intended for broadcast workflows. The reasoning is simple: 44.1 kHz comfortably covers the range of human hearing and matches what nearly every podcast platform expects, while 48 kHz exists mainly to keep audio synced with video frame rates. Record in 24-bit, or 32-bit float if you’re not fully sure of your input levels, and make sure every file in a project shares the same rate before you touch the export button.
TL;DR:
- Use 44.1 kHz for audio-only podcasts, reserving 48 kHz for videos to maintain sync with common frame rates and avoid resampling issues.
- Record in 24-bit, or 32-bit float if input levels are uncertain, and ensure all files share the same sample rate before editing and exporting.
- Higher sample rates like 88.2 or 96 kHz are unnecessary for spoken-word content, mainly increasing file size and processing load without perceptible quality gains.
- Bit depth has a greater impact on audio clarity than sample rate, with 24-bit offering sufficient dynamic range and 32-bit float preventing clipping in unpredictable situations.
- Verifying actual recorded sample rate and testing export settings helps prevent pitch and timing errors that can affect final audio quality.
Table of Contents
- Recommended Podcast Sample Rate Settings, Step by Step
- 44.1 kHz vs 48 kHz: The Technical Reason One Beats the Other
- Do You Ever Need 88.2 or 96 kHz for a Podcast?
- Bit Depth Matters More Than Sample Rate for Clean Audio
- How to Avoid Pitch and Resampling Problems Mid-Project
- Export Settings That Match What Platforms Actually Expect
- Keeping a High-Res Master While Delivering Podcast-Ready Files
- Where to Verify the Technical Details Yourself
- Why Sample Rate Gets More Attention Than It Deserves
- Sources
- FAQ
Recommended Podcast Sample Rate Settings, Step by Step
You don’t need to relearn your DAW’s preferences menu every time you sit down to record. Set these once, and you’re done thinking about it for months.
Recording:
- 44.1 kHz by default, or 48 kHz if the same session feeds a video edit
- Bit depth: 24-bit for controlled studio setups; 32-bit float for remote guests, field interviews, or anyone you can’t monitor live
Editing:
- Match your project rate to the rate you recorded at. Don’t let your DAW guess.
- Consolidate or “render” tracks before bouncing, especially if you imported clips from multiple sources at different rates
Exporting:
- MP3 or AAC at 44.1 kHz for RSS feed delivery
- Mono voice tracks: roughly 64 to 128 kbps; stereo shows with music beds: 128 to 192 kbps, per Apple’s bitrate recommendations
Naming and metadata:
Keep the sample rate and bit depth in your session notes or filename (something like episode42_48k24bit_master.wav). It saves you from guessing later, and it saves your editor from re-encoding a file that was already fine.
44.1 kHz vs 48 kHz: The Technical Reason One Beats the Other
The Nyquist–Shannon theorem sets the rule that governs this whole decision: your sample rate has to be at least double the highest frequency you want to capture cleanly. Human speech and most music you’d care about sit well under 20 kHz, so a sample rate of 44.1 kHz, with roughly 22 kHz of usable headroom above the audible ceiling, is not a compromise. It’s a match for what your ears can actually process.
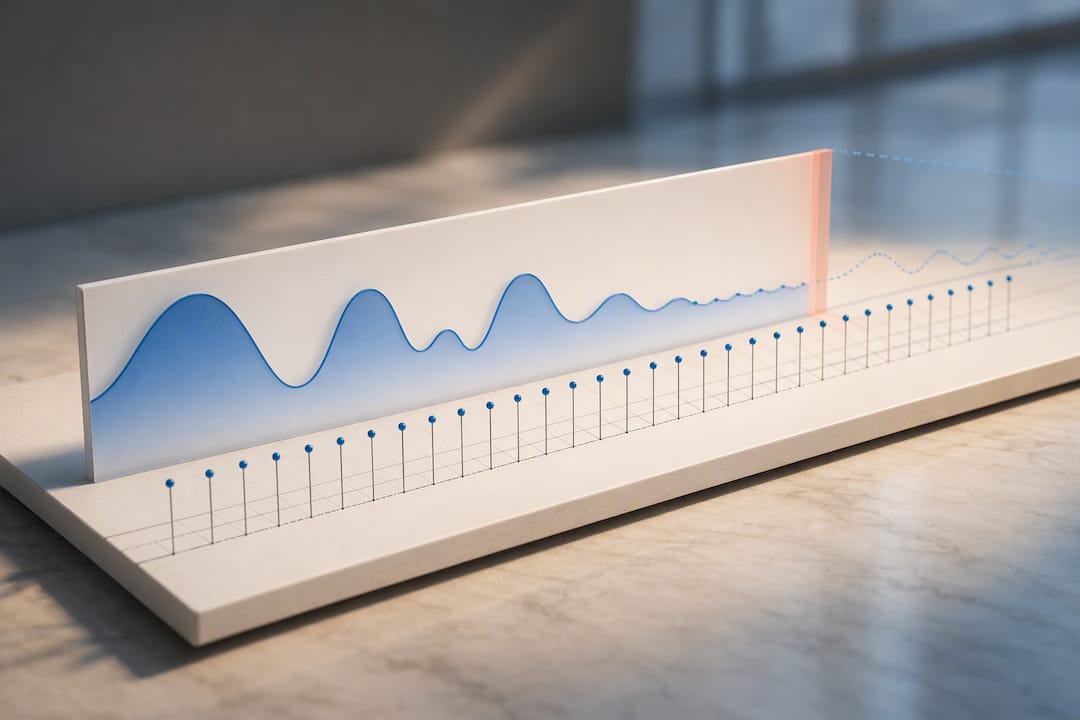
That’s exactly why the Audacity manual lists 44.1 kHz as its default and calls it suitable for most audio work, reserving 48 kHz for video and DVD production instead. The 48 kHz standard didn’t emerge because it sounds better. It emerged because it plays nicer with video frame rates and broadcast chains, which is where sync errors tend to creep in if your audio and video clocks don’t line up.
That gives you a clean decision rule:
- Audio only, distributed as a podcast feed? Use 44.1 kHz.
- Cutting the episode into a video for YouTube, or feeding a broadcast pipeline? Use 48 kHz from the first recording, so you never have to resample later.
A quick reality check: neither rate is “low quality.” You’re choosing between two numbers that both exceed what your listeners can perceive as speech. The difference shows up in workflow compatibility, not in what comes out of someone’s earbuds.
Do You Ever Need 88.2 or 96 kHz for a Podcast?
Rarely, and almost never for the spoken-word content that makes up most shows. Higher sample rates have real uses. Archival institutions sometimes record at elevated rates specifically because preservation standards call for extra headroom when digitizing material that has to last decades. Music producers tracking instruments with strong harmonic content above 20 kHz also lean on 88.2 or 96 kHz for certain mixing and mastering decisions.
None of that applies to a conversation recorded into a dynamic mic. The tradeoffs are real and mostly unwelcome:
- File sizes roughly double compared to 44.1 kHz, which matters if you’re uploading raw multitrack sessions to a remote editor
- Your computer’s CPU works harder during editing and rendering, especially with plugin-heavy chains
- Converting between rates introduces its own error risk, including intermodulation artifacts if the resampling algorithm is poor
If you genuinely want a high-resolution archive, the smart move is recording high and keeping that master, then producing a standard 44.1 kHz deliverable for actual distribution. You get the safety net without paying the workflow tax on every single episode.
Bit Depth Matters More Than Sample Rate for Clean Audio
Bit depth controls your dynamic range, meaning the gap between the quietest detail you can capture and the loudest sound before distortion kicks in. It has a much bigger effect on how “clean” your recording sounds than sample rate does, because bit depth is what determines your noise floor and how much headroom you have before clipping.
Here’s the practical version:
- 24-bit is the working standard for podcast recording. It gives you roughly 144 dB of theoretical dynamic range, far more than any home or studio recording environment needs, but enough to protect you from a surprise loud laugh or a guest who leans into the mic.
- 32-bit float goes further by making clipping during recording nearly impossible, which is why so many field recorders now default to it for remote and unpredictable-level situations.
- Dither and convert down to 16-bit only at final export, if a platform specifically requires it. Most podcast platforms accept 24-bit anyway.
Pro Tip: Record in 24-bit even if you plan to apply heavy compression, EQ, or normalization afterward. That extra headroom gives your processing chain room to work without introducing audible noise or artifacts, which is the opposite of what happens when you push a thin 16-bit file through the same chain.
How to Avoid Pitch and Resampling Problems Mid-Project
A mismatched sample rate between your recorded file and your project settings can cause real damage. Some editors handle the mismatch transparently and resample on import without you noticing. Others don’t, and the result is audio that plays at the wrong speed or pitch, usually discovered at the worst possible moment, right before you need to publish.
Run through this before you commit to a full edit:
- Check your recorder’s actual output rate. Don’t assume, verify it in the file properties or the device settings.
- Confirm your DAW’s import behavior. Some tools resample automatically; others import at native rate and let your project setting create the mismatch.
- Set your project rate to match your source files, not the other way around, before you start editing.
- Verify your export rate matches your project rate, since a silent mismatch here is how “it sounded fine yesterday” turns into a support ticket from a listener.
If you do need to resample, use your DAW’s high-quality resampling algorithm rather than a quick conversion tool, and only resample when necessary. When in doubt, re-recording a short section is often faster than debugging a pitch issue after the fact.
Pro Tip: Before rendering a full episode, export a 10 to 15 second test clip and listen to it. This one habit catches sample-rate and pitch mismatches in under a minute, instead of after you’ve already exported, uploaded, and gotten a listener email asking why the host sounds like a chipmunk.
Export Settings That Match What Platforms Actually Expect
Apple Podcasts accepts WAV, FLAC, and MP3 files, with recommended sample rates spanning 44.1 kHz up through 192 kHz, though there’s no benefit to submitting anything above 44.1 or 48 kHz for a standard spoken-word show. Apple’s bitrate guidance suggests roughly 64 to 128 kbps for mono content and higher ranges for stereo, scaled to your chosen sample rate.
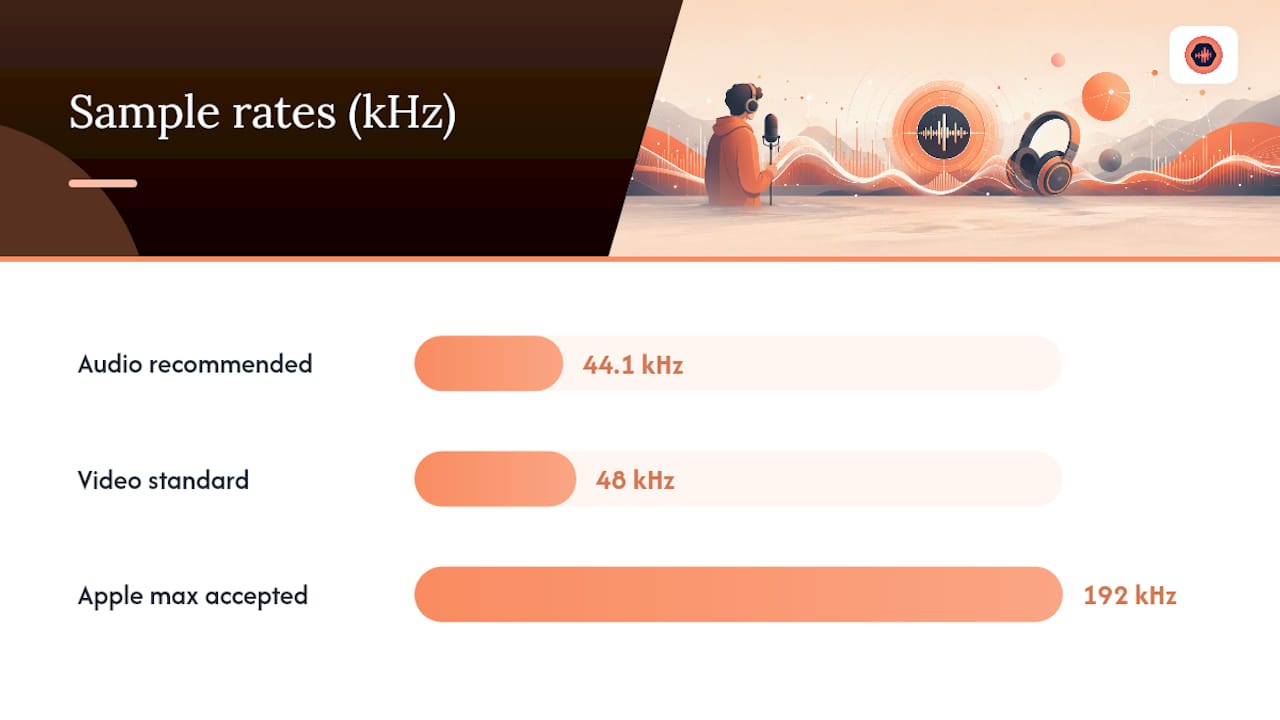
Spotify doesn’t publish rigid sample-rate requirements the way Apple does, but delivering 44.1 kHz through your RSS feed keeps you aligned with standard practice across every major app that pulls from that feed. YouTube and any video-integrated workflow is where 48 kHz earns its keep, since matching your audio rate to video-standard sync avoids the drift and conversion issues that show up when audio and video clocks don’t agree.
A safe universal export preset:
- Container: MP3 or AAC for RSS distribution; WAV or FLAC if a client specifically wants lossless
- Sample rate: 44.1 kHz for audio-only feeds; 48 kHz for video-paired episodes
- Bit depth: 16-bit is standard for final MP3/AAC delivery
- Bitrate: 64 to 128 kbps mono, 128 to 192 kbps stereo
Keeping a High-Res Master While Delivering Podcast-Ready Files
Professional studios don’t throw away resolution just because the final deliverable needs to be smaller. The standard practice is recording and archiving at 48 kHz/24-bit or even 96 kHz/24-bit, then producing your actual podcast export at 44.1 kHz separately. That way your master stays flexible for a future remix, a video cut, or a remaster, while your feed gets the lean file it actually needs.
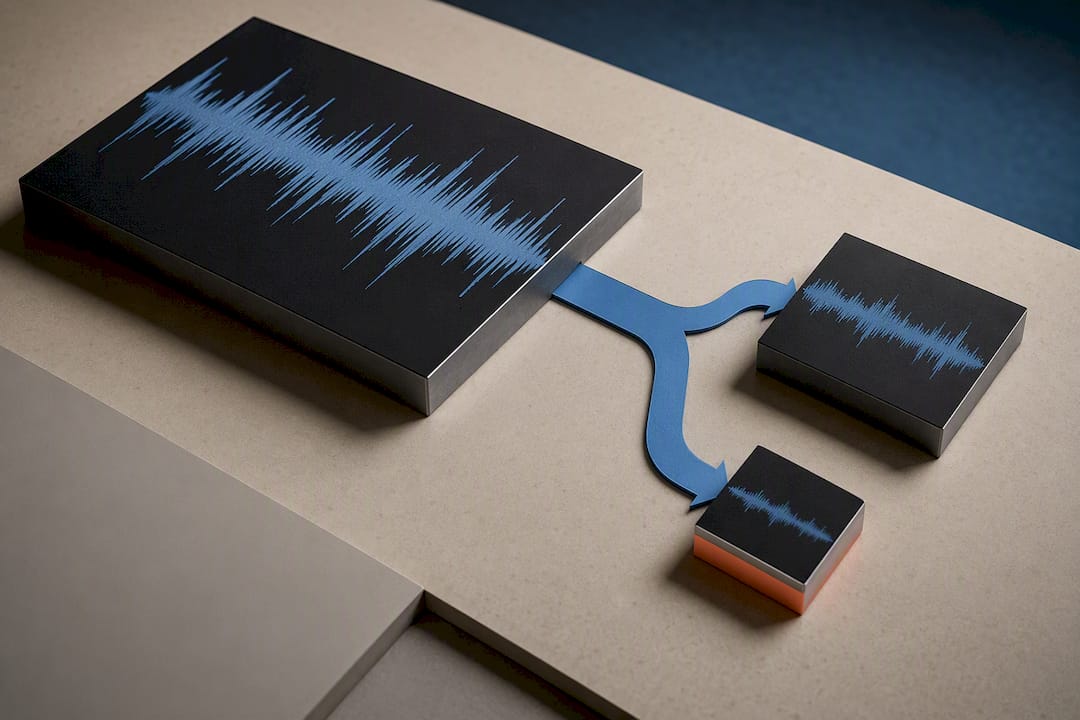
This is where a workspace built for high-resolution audio collaboration earns its place in the workflow. Audome supports uploads up to 96 kHz/24-bit, so editors and collaborators can work from the same untouched master instead of passing around lossy exports through email or file-sharing links. Timestamped feedback on the actual waveform means a producer can flag “the pop at 12:04” without a separate spreadsheet, and version history keeps every resample or re-export traceable.
A simple delivery policy: master archive, then a working project file, then a final 44.1 kHz MP3 or AAC for the RSS feed, with a short README noting the original sample rate and bit depth. That one habit prevents a client or junior editor from accidentally resampling an already-compressed file.
Where to Verify the Technical Details Yourself
For platform specs straight from the source, check Apple’s audio requirements page, which lists accepted containers and sample rates directly. For the technical reasoning behind sample-rate defaults, the Audacity manual’s sample rate documentation explains the tradeoffs in plain terms. For a pre-publish workflow checklist, the Hearably podcast audio quality guide walks through the same verification steps covered above.
Why Sample Rate Gets More Attention Than It Deserves
The obsession with sample rate is, frankly, a distraction from what actually determines whether a podcast sounds professional. Recording environment and microphone technique do more for perceived audio quality than any sample-rate decision ever will, and that’s not a hedge, it’s the consistent takeaway from people who’ve spent careers mixing spoken-word audio.
Where conventional advice falls short is treating sample rate like a quality dial you can crank for better sound. It isn’t. Once you clear 44.1 kHz, you’ve already exceeded what a listener’s ears can register as a difference. The real gains left on the table are acoustic treatment, mic placement, and consistent gain staging, none of which show up in a sample-rate dropdown menu.
If there’s one thing worth prioritizing over sample-rate perfectionism, it’s protecting your source material. Record at a sensible rate, choose 24-bit or 32-bit float so you’re never fighting clipping, and keep a high-resolution master before you compress anything down for distribution. Everything else in this decision is close to a solved problem. Spend your remaining attention on the room you’re recording in.
— Kreg
Sources
- Audio requirements – Apple Podcasts for Creators
- Sample rates – Audacity manual
- Podcast Audio Quality Checklist — 15 Steps Before Publishing — Hearably Blog
FAQ
Should I Use 44.1 kHz or 48 kHz for My Podcast?
Use 44.1 kHz if your show is audio-only, since it matches standard podcast platform expectations and fully covers human hearing. Use 48 kHz only if the same recording gets edited into video, where it prevents sync issues down the line.
Is Spotify 44.1 kHz or 48 kHz?
Spotify doesn’t enforce a strict sample rate through RSS delivery, but 44.1 kHz is the standard practice that keeps your feed compatible across every app pulling your episodes.
Is YouTube 44.1 kHz or 48 kHz?
YouTube and other video platforms generally work best with 48 kHz audio, since it aligns with standard video frame rate and sync conventions and avoids conversion artifacts during rendering.
What Bit Depth Should I Record My Podcast At?
Record at 24-bit for standard studio setups, or 32-bit float if you’re recording remote guests or anyone with unpredictable input levels, since it prevents clipping without requiring perfect gain staging in advance.
Will a Higher Sample Rate Make My Podcast Sound Better?
Not for spoken-word content. Once you’re at 44.1 kHz, you’ve already exceeded what listeners can perceive, so recording environment and microphone technique will improve perceived quality far more than raising the sample rate.